
How to Plan Retail Shelving for Better Product Visibility
Posted by Shoplines Supplies on 9th Aug 2026

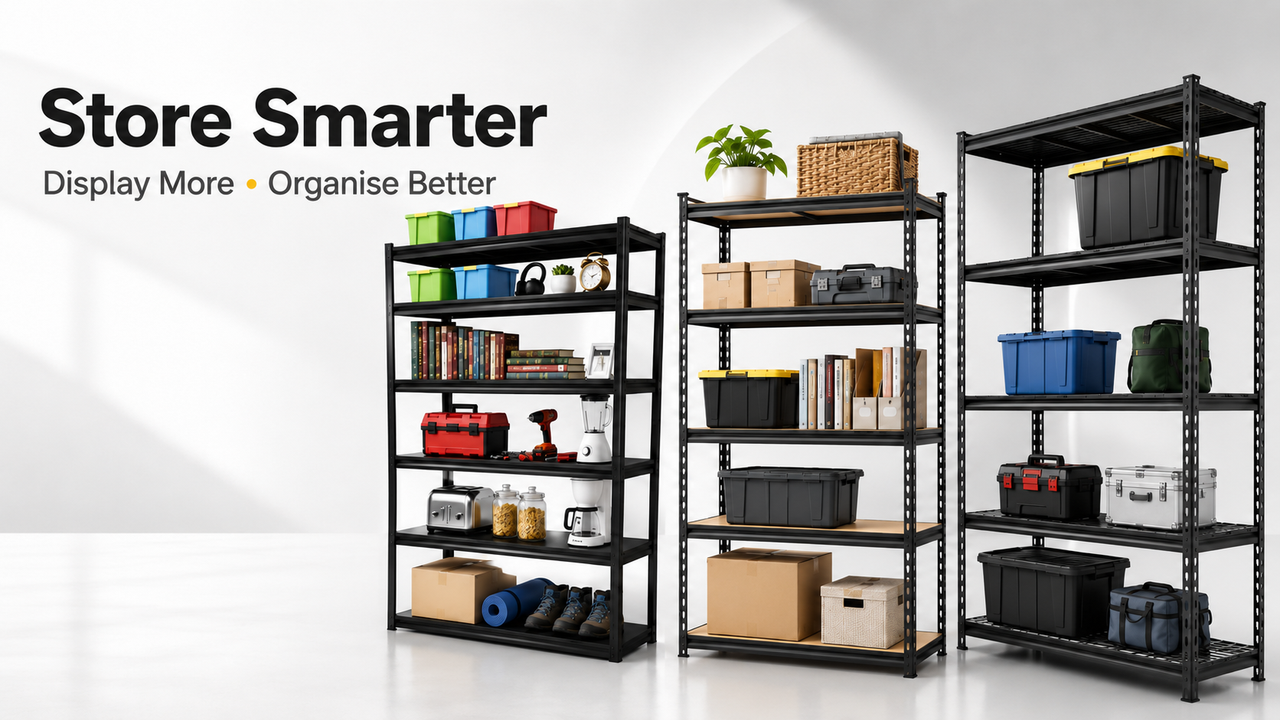
Retail shelving has to hold stock safely, make products easy to compare and support quick replenishment. A layout can look neat when empty yet become difficult to use once packaging sizes, price labels and customer movement are added. Good planning begins with the product mix and the space, not with the number of shelves you hope to fit.
Map the room before choosing bays
Measure wall lengths, ceiling height, doors, windows, columns, sockets and fixed services. Record the narrowest customer routes and any areas that must remain clear. Sketch entrance sightlines and the route to the checkout so shelving does not hide important categories or signs.
Separate wall runs, central gondolas and promotional end positions. Wall shelving uses the perimeter efficiently. Gondola units create accessible central bays, but their height and position affect how open the store feels.
Group products by size, weight and shopping behaviour
Create practical product groups before setting shelf spacing. Record typical pack height, depth and width, then note whether items are heavy, fragile, frequently replenished or bought together. Similar-looking packs may still need different shelf depths or support.
Keep related products close when it helps the purchase. Place essential destination items where they are easy to locate and reserve strong sightlines for seasonal, promotional or high-priority ranges.
Use the product specification for load decisions
Shelf safety depends on the complete system, including uprights, brackets, decks, fixings and floor or wall conditions. Never estimate capacity by appearance. Follow the stated load information for the exact components and distribute stock evenly.
Heavy products are usually easier to handle on lower shelves. Lighter items and clear signage can sit higher without making replenishment unnecessarily difficult. If requirements are uncertain, ask for product guidance before ordering.
Set shelf depth and spacing deliberately
A shelf should support the product without excessive overhang. Deep shelves can waste aisle space when packs are small, while shallow shelves may not support larger stock properly. Adjustable systems are useful when ranges change, but the first layout should still be based on real package dimensions.
Leave enough vertical space for customers to see and remove products comfortably. Very large gaps reduce capacity, while tight gaps create dark shelves and awkward access. Test a representative product arrangement where possible.
Protect sightlines and customer flow
Customers should be able to understand the store soon after entering. Lower central units preserve views across a small shop, while taller wall runs can carry more stock without forming barriers. Avoid placing the highest fixture immediately inside the entrance unless it has a clear merchandising purpose.
Allow room for browsing, baskets, trolleys and staff replenishment. Shelves that technically fit can still create congestion when customers stop to compare products.
Plan labels, lighting and accessories
Price and product information should align consistently and remain easy to update. Check whether the shelving supports the required ticket strips, dividers, risers, hooks or baskets. Use accessories only when they make the range easier to shop.
Lighting should reduce shadows and glare rather than simply increase brightness. Reflective packaging, glass shelves and deep bays may need particular attention. Keep cables and fittings managed safely.
Design for replenishment
Staff need to reach shelves, rotate stock and identify gaps without disrupting customers. High-volume products benefit from practical facings and nearby reserve stock. Leave enough access for cartons and avoid a layout that forces staff to carry stock through a narrow queue.
Standard bay widths and a repeatable shelf rhythm make future changes easier. Keep a simple record of bay dimensions and component types so extensions and replacements can be matched correctly.
Retail shelving planning checklist
- Room, doors, services and customer routes measured.
- Product dimensions, weight and replenishment frequency recorded.
- Wall, gondola and end positions mapped.
- Individual component load information confirmed.
- Shelf depth and vertical spacing tested against real packs.
- Ticketing, dividers, hooks and lighting planned.
- Customer sightlines and accessible routes protected.
- Future range changes allowed for.
Build a layout that can adapt
The strongest retail shelving plan balances capacity with visibility, access and future change. Measure carefully, use verified load information and create a consistent system that staff can maintain.
Browse Shoplines retail shop shelving, or compare adjustable boltless shelving and wire metal shelving for suitable storage applications.