
Heavy-Duty Clothes Rail Buying Guide: Size, Load and Mobility
Posted by Shoplines Supplies on 9th Aug 2026

A clothes rail looks simple, but the wrong specification quickly causes problems. A rail that is too narrow creates overcrowding, a lightweight frame can become unstable under heavy garments, and unsuitable wheels make stock movement harder than it needs to be. The best rail matches the clothing, working environment and frequency of movement.
This guide covers the practical details to check before buying a heavy-duty clothes rail for a shop, stockroom, studio, event or organised home wardrobe.
Define where the rail will be used
A customer-facing retail rail has a different job from a stockroom rail. On the shop floor, appearance, reach and browsing comfort matter. In a stockroom, capacity and durability normally take priority. Event teams need quick assembly and easy transport, while a home user may value a compact footprint and clean finish.
- Shop floor: prioritise presentation, spacing and a finish that matches nearby fixtures.
- Stockroom: focus on strength, stability and efficient garment density.
- Events: check portability, wheel quality, assembly and vehicle storage.
- Studios: consider garment length, frequent movement and temporary collections.
- Home use: measure the available wall and floor space carefully.
Choose the right width
Measure the clear space available, not just the wall length. Allow room for end frames, handles and safe movement around the rail. Then estimate how many garments will be stored and how bulky they are. Coats and padded clothing require much more rail length than shirts or lightweight dresses.
A rail should not be packed so tightly that customers cannot separate garments. Better spacing improves browsing, protects fabrics and helps staff keep sizing or colour groups organised. For high stock levels, two shorter rails may offer better access than one long, crowded run.
Check height and garment clearance
Confirm the distance from the hanging bar to the floor or lower rail. Long dresses, coats and formalwear need more drop than shirts, jackets or children's clothing. If the rail has two levels, make sure the lower row does not crush garments hanging above it.
Adjustable-height rails add flexibility, but the adjustment mechanism must be secured correctly. Fixed-height rails offer straightforward consistency. Check the product dimensions rather than assuming every commercial rail follows the same height.
Think about load without guessing
There is no universal capacity for a clothes rail. The safe load depends on the frame material, tube diameter, joints, base and wheels. Use the stated specification for the individual product and do not rely on the appearance of the rail alone.
Weight should be distributed evenly across the hanging bar. A collection of leather jackets, winter coats or costumes can become heavy very quickly. If the intended load is substantial, look for a heavy-duty frame, strong connections and suitable castors or feet. Never exceed the manufacturer's stated limit.
Wheels, feet and mobility
Wheeled rails are useful for stock movement, floor changes and events. Larger, well-positioned castors generally cope better with thresholds and uneven surfaces. Braked wheels can help keep a rail in place while customers browse or staff load it.
A static rail may be preferable when the display rarely moves or the floor must remain visually minimal. If mobility is important, measure doorways, lifts and vehicle space as well as the final display area.
Do you need bracing or extension bars?
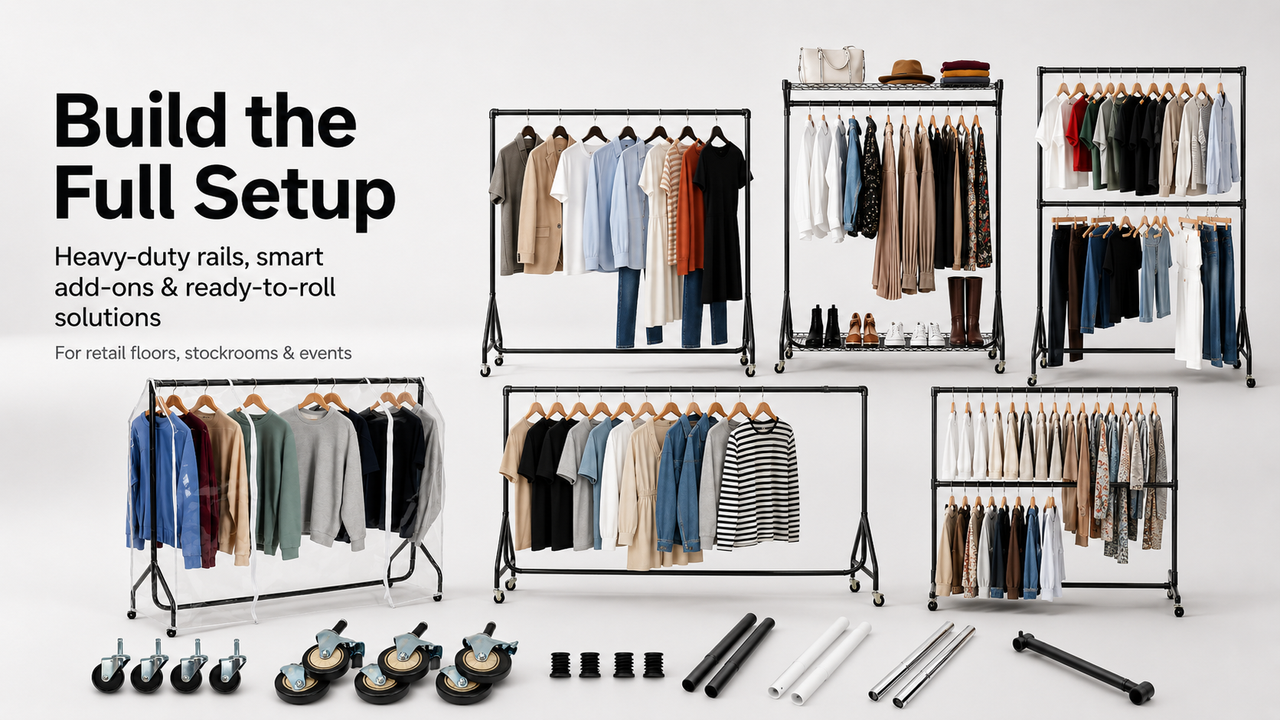
Base or diagonal bracing can improve stability, especially on wider frames. Extension bars are useful for separating outfits, displaying accessories or creating extra hanging space at the ends. Centre bars, shelves and protective covers can turn a basic rail into a more complete storage system.
Only use accessories designed for the rail. Mixing incompatible fittings can affect alignment and stability.
Match the finish to the environment
Chrome creates a bright, familiar retail look and works well with many display systems. Black finishes can feel more understated and help colourful garments stand out. In stockrooms, the priority may be a durable coating that withstands regular handling.
Keep the rail finish consistent with nearby shelving, mannequins and display arms where possible. Repetition makes the space look planned and helps the merchandise remain the focus.
Plan the aisle around the rail
A rail should support customer flow, not block it. Leave space for people to stand back, browse from the side and pass one another. Preserve sightlines to key categories, signs and the checkout. Lower or carefully positioned rails can keep a small shop feeling open.
Place displayed outfits near the matching stock. If a mannequin shows a complete look, the corresponding garments should be easy to find on the closest rail.
Pre-purchase checklist
- Available width, height and floor depth measured.
- Main garment type and length confirmed.
- Expected load checked against the product specification.
- Static feet or castors selected for the working environment.
- Doorway, lift and vehicle access measured if the rail will move.
- Required covers, shelves, extension bars or stops identified.
- Finish coordinated with the rest of the display.
Choose a rail that works every day
Start with measurements and garment type, then compare strength, mobility and accessories. A well-chosen rail makes stock easier to present, move and maintain while giving customers comfortable access to the collection.
Browse Shoplines clothes rails and garment rail accessories or contact the Shoplines team for practical product guidance.